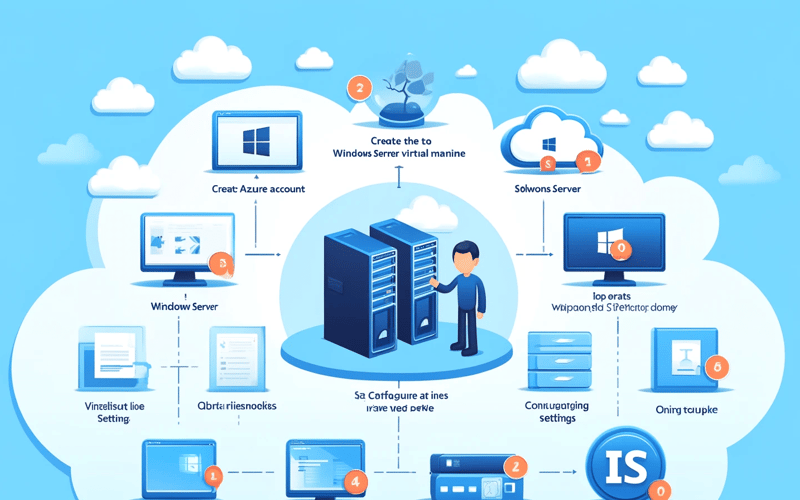
In this article we will be creating a virtual machine and also we wuill install an IIS weber sever role on the virtual machine.
Lets Begin
Search for Virtual Machine and select Virtual machine
Click on +create on your extreme left 
Select Azure Virtual Machine from the options. 
Under project details for resource group click on Create New and give it a name (make it a special name or name of a project)
Under the Instance details give your virtual machine a name of your choice.
Select a region of your choice 
Select the availability zones (this is dependent on how highly available you want the virtual machine to be you can choose zone1 and zone2 if you want the VM to be highly available and you can choose zone1,zone2 and zone3 if you want your VM to be very highly available its all dependent on your budget, the higher the availability the higher the cost)
Because you are creating a Linux VM for image you will select Window Server 
Leave every other things at default then go to Administrator Account and Create a User Name and Password of your choice 
Under select inbound port SELECT HTTP this will enable us to view our virtual machine as a web page. 
Click on the Monitoring tab and disable boot diagnostic
Then click on tags tab and tag the VM by putting your name or company name. 
Click on create and Review wait for it to validate or show green. 
Once Validation is passed Select Create 
Once the deployment is complete, click on Go to Resource 
Click connect to connect to the VM 
Click on Select on the Native RDP Local Machine 
It will pop up on the right, wait for it to validate and show configured then download the RDP file 
When it has finished downloading then you click on the downloaded file then click connect NB! If you are using a MAC book you need to download and install Microsoft Remote Desktop App 
Enter the Password we created during Administrator Settings 
Our Window Server2019 data center edition is ready
Click on the Start menu.
Type PowerShell and open Windows PowerShell or Windows PowerShell ISE as an administrator (right-click and select Run as administrator). 
Install IIS:
Run the following command to install the IIS role and management tools:
Install-WindowsFeature -name Web-Server –IncludeManagementTools (you can copy and paste the command) 
This is what you get if the command installs successfully (it shows that something has been installed on the window web server)
Verify Installation:
You can verify that IIS has been installed by opening a web browser and navigating to http://localhost. You should see the default IIS welcome page.
or Just paste the ip address of the VM in a browser and verifiy that you installed the webserver.
Click on iP address on the Azure page 
Paste it to browser to know if you have installed a Web Server or not.
As you can see from the browser that we have successfully installed a web server
Source link
lol


