Introduction
In the pre-cloud computing era, establishing a network infrastructure required a plethora of hardware components, including Switches, Routers, Internet cables and RJ-45 connectors. These physical components enabled computers to communicate with each other and access the internet. Fast-forward to the cloud computing era, where virtualization has revolutionized networking. With Virtual Private Cloud (VPC), you can create a secure, isolated network environment without the need for physical hardware.
In this guide, I will walk you through the step-by-step process of creating a Virtual Private Cloud(VPC), including setting up Public and private subnets, Internet Gateway, Network ACLs (Access Control Lists) and Security Groups. By the end of this guide, you will have a fully functional VPC network, secure and ready for your applications.
Prerequisites
Before we begin, let’s review the prerequisites;
- AWS free-tier account
- Basic understanding of networking concepts (IP address, subnets, routing).
Definition of Services
- Virtual Private Cloud (VPC): Creates a virtual network dedicated to your AWS resources.
- Subnets: Divide your VPC into smaller networks for organization and security.
- Internet Gateway (IGW): Enables internet access to your VPC.
- Security Groups (SG): Control inbound and outbound traffic to your instances.
- Network Access Control Lists (NACL): Filter traffic to and from your subnets.
Let’s Dive In
Let’s begin by creating our Virtual Private Cloud (VPC), which will serve as the foundation for our network infrastructure. This VPC will provide a secure and isolated environment for our AWS resources.
Let’s edit our VPC settings to enable DNS hostname resolution. This will allow instances within our VPC to receive a DNS hostname that corresponds to their private IP address.
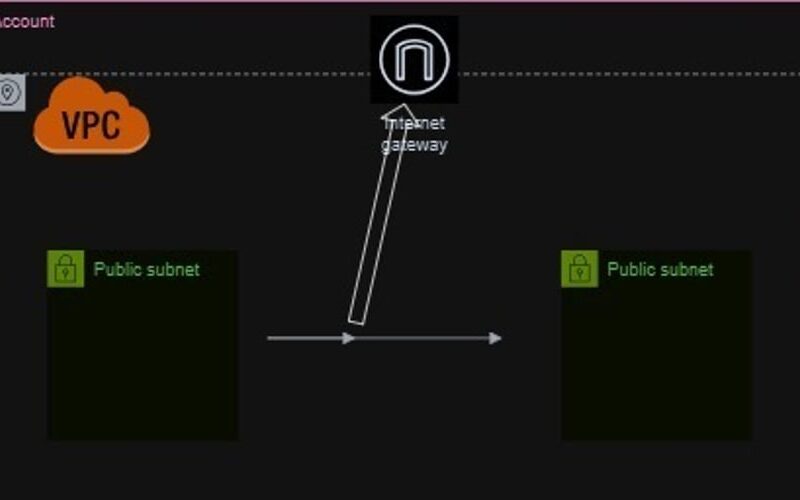
Now that the VPC has been created, Next, we’ll attach an Internet Gateway (IGW) to our VPC, enabling communication between our VPC and the internet.
INTERNET GATEWAY
Next, let’s create 4 subnets within our VPC; Public Subnets will be attached to the Internet Gateway (IGW) for external communication and the Resources in these subnets can receive incoming traffic from the internet. We will also create private subnets which be attached to a Network Address Translation (NAT) gateway.
Next, let’s create our NAT gateways for the private subnets.
NAT GATEWAYS
ROUTE TABLES
Now that we have our subnets and NAT gateways setup, let’s create route tables to define traffic routing rules.
PUBLIC ROUTE TABLES
PRIVATE ROUTE TABLES
Network Access Control Lists
Now that we have our VPC, subnets, and route tables configured, let’s create Network Access Control Lists (NACLs) to control inbound and outbound traffic at the subnet level.
EC2 And Security Groups
Now that we have our VPC, subnets, route tables, and NACLs configured, let’s create EC2 instances and security groups to direct traffic.
Now that we have our EC2 instance up and running, let’s connect to it and install Python.
SECURITY GROUPS
Now that we’ve updated the security group inbound rules to allow traffic on port 8000, you can access your application.
Congratulations, we have successfully designed and implemented a secure and scalable Virtual Private Cloud (VPC) architecture.
Source link
lol


