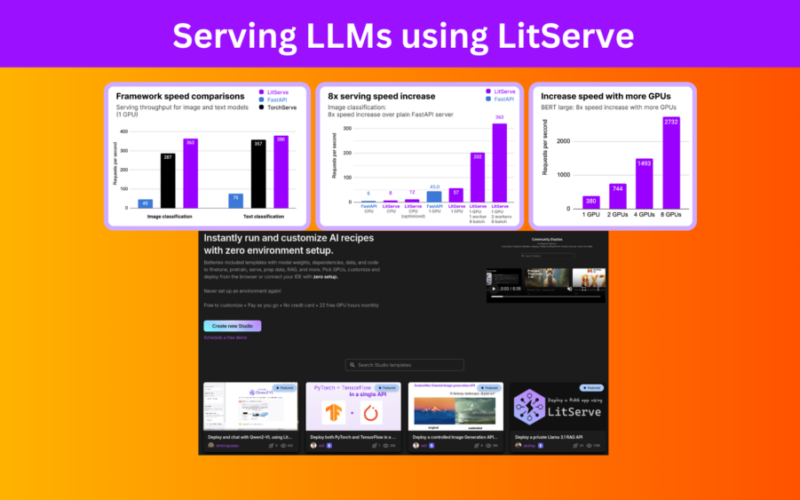
At one point or the other, we all have run LLMs locally, maybe through Hugging Face Transformers, Ollama, or any of the online tools and software available. However, for production-ready environments, we will need to serve LLMs using an API URL. It can be a locally hosted LLM accessible to the organization only or an exposed API for the customers to use. The serving part can be tricky. But with the myriad of libraries coming out, the process is slowly becoming simpler, even for deep learning engineers. One such library is LitServe. In this article, we will explore the serving of LLMs using LitServe.
Primarily, our goal is to explore different techniques for serving LLMs using LitServe, both locally and through an exposed API. After going through the article, we should be well-equipped to take our LLM projects one step further to real-world deployment.
What are we going to cover in this article?
- What is LitServe?
- How to set up LitServe locally?
- What are the different techniques of serving models through LitServe?
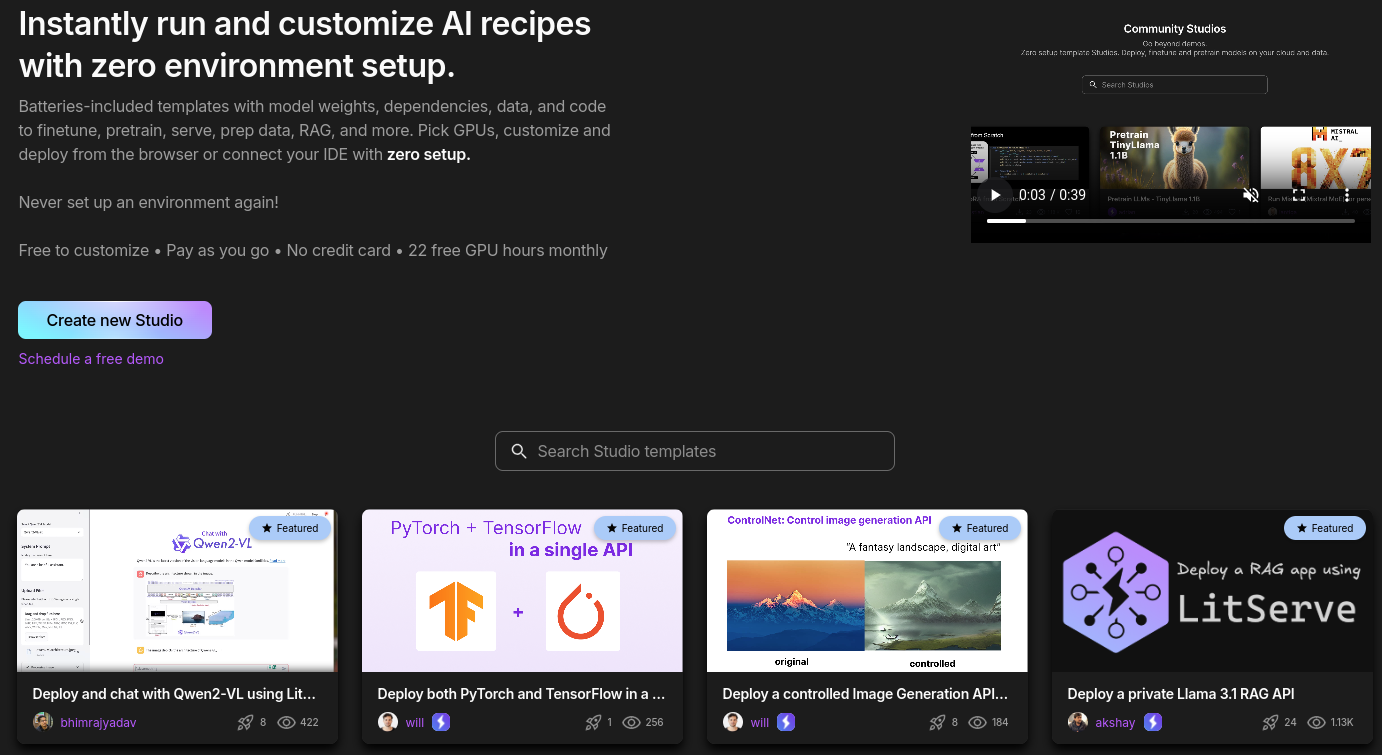
- How to use Lightning Studio to serve LLMs through LitServe and LitGPT?
- How to use LLMs from Hugging Face Transformers with LitServe?
- What are the steps to use LitServe locally for serving LLMs?
Note: We do not discuss a complete production-ready deployment pipeline here. This is more of a “getting started with LLM serving and deployment” for deep learning engineers and practitioners who mostly work with model creation, data pipelines, and LLM training.
What is LitServe?
LitServe is an AI model serving engine by Lightning AI, the company behind PyTorch Lightning. LitServe can not only serve LLMs but any AI model that we want. It is flexible, fast, and built on top of FastAPI, and for LLMs, it has integration with LitGPT.
Along with that, it has a host of features like GPU autoscaling, integration with Lightning Studio, batching, streaming, and many more. Take a look at the entire list of features to know more. Because of optimized worker and GPU handling, it is faster than some of the most popular APIs used for serving, like FastAPI, and Torchserve.
How to Set Up LitServe Locally?
Installing LitServe locally is straightforward with PyPi. We are going to use the following versions of LitServe and LitGPT in this article. Be sure to install these in a new environment.
pip install litgpt==0.4.11
pip install litserve==0.2.2
Installing the above two will also install PyTorch with CUDA dependencies and other necessary libraries.
LitGPT is a library for running, fine-tuning, and evaluating LLMs with just one line of command. You can find an extensive set of tutorials here.
Project Directory Structure
As we will cover both, serving LLMs locally, and on Lightning Studio, it is important to go through the directory structure once.
├── checkpoints
│   └── google
│       └── gemma-2-2b-it
├── call.py
├── client.py
├── commands.txt
├── README.md
├── requirements.txt
├── serve_hf.py
└── serve.py
- The
checkpointsdirectory contains all the pretrained models that LitGPT downloads and converts. - The
commands.txtfile contains some useful serving commands and theREADMEfile contains some essential links to docs and tutorials. - There are four Python files that we will cover in the following sections.
- Finally, we have a requirements file to install the dependencies.
To install the rest of the dependencies you can execute the following command.
pip install -r requirements.txt
All the above Python files, command files, README, and requirements file are available to download via the download section below.
Download Code
Serving LLMs Through LitServe on Lightning Studio
In the first part, we are going to cover the serving of Gemma-2 2B Instruction Tuned model through LitServe on Lightning Studio.
We are using the Gemma-2 2B as we can easily run it on both CPU and GPU.
Setting Up a New Studio
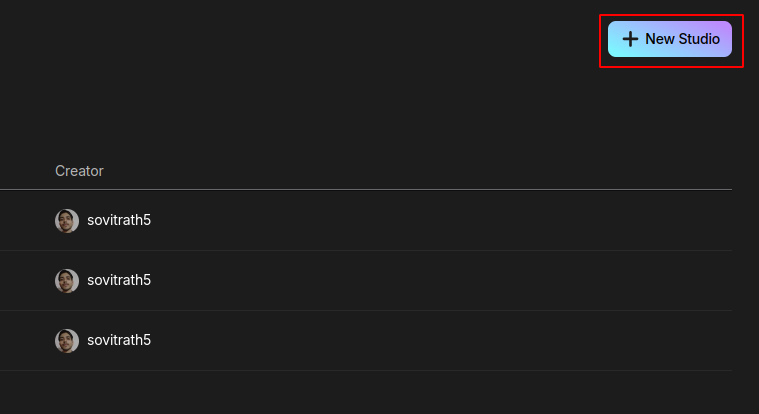
The first step is to create a new sign-up for Lightning Studio and create a new Studio.
You should also receive some free credits which makes it easier to play around with GPU powered Studios and get to know the environment.
Now, go under the Studio tab and create a new Teamspaces. Under the newly created teamspace, we can start a new studio.
In case you want to replicate the studio that I created, check the published studio here and you can make a clone of it.
The new studio should open in CPU mode by default. You can continue as it is or switch to a GPU. Navigating around the studio should be simple enough as it is a VS Code environment.
After the environment starts, be sure to install litgpt and litserve using the terminal.
pip install litgpt
pip install litserve
Server and Client Scripts for LLM Serving
Here, we need to focus on the server.py and client.py scripts. Here are the contents of both.
import litgpt
import litserve as ls

class LlmAPI(ls.LitAPI):
    def setup(self, device):
        self.llm = litgpt.LLM.load('google/gemma-2-2b-it')

    def decode_request(self, request):
        return request['prompt']

    def predict(self, prompt):
        return self.llm.generate(
            prompt, max_new_tokens=1024
        )

    def encode_response(self, output):
        return {'output': output}

if __name__ == '__main__':
    api = LlmAPI()
    server = ls.LitServer(
        api,
        accelerator="auto"
    )
    server.run(port=8000)
The above is the server script that loads the Gemma-2 2B Instruction Tuned model. Let’s go through some of the important parts:
- We need just two imports,
litgpt, andlitserve. We can access the internal API modules throughlitserve. - We have a class called
LlmAPI. This has four methods,setup,decode_request,predict, andencode. - The
setupmethod runs right away whenever we initialize the class. It will download and load the model onto the memory. Notice that we are using LitGPT to load the Gemma-2 model. - The
decode_requestdecodes the user prompt that the client sends. - The
predictmethod carries out the forward pass after the decoding step is complete. - Finally, the
encode_requestsends the request back to the client as a response from the LLM.
The main block initializes the server on port 8000. By default, it starts on the localhost, http://127.0.0.1.
Following is the client script.
import requests
import json
import argparse

SERVER_URL = 'http://127.0.0.1:8000'

def main():
    # Set up command line argument parsing
    parser = argparse.ArgumentParser(description='Send a prompt to the LitServe server.')
    parser.add_argument(
        '--prompt',
        type=str,
        help='The prompt text to generate text from.',
        default="Hello. How are you?"
    )

    # Parse command line arguments
    args = parser.parse_args()

    # Use the provided prompt from the command line
    prompt_text = args.prompt

    # Define the server's URL and the endpoint
    predict_endpoint="/predict"

    # Prepare the request data as a dictionary
    request_data = {
        'prompt': prompt_text
    }

    # Send a POST request to the server and receive the response
    response = requests.post(f'{SERVER_URL}{predict_endpoint}', json=request_data)

    # Check if the request was successful
    if response.status_code == 200:
        # Parse the JSON response
        response_data = json.loads(response.text)

        # Print the output from the response
        print('Response:', response_data['output'])
    else:
        print(f'Error: Received response code {response.status_code}')

if __name__ == '__main__':
    main()
This script is quite straightforward. We have a SERVER_URL which is the local host where our server is running. Then we have a main function which has a single command line argument to pass the user prompt.
Whatever prompt the user sends will hit the server’s predict endpoint and the request will be sent as a JSON data.
The response from the LLM will also be a JSON data that we decode as a dictionary where the output key holds the LLM response. We print that on the terminal.
Executing the Server and Client Script
In the VS Code Studio environments, first, we need to execute the server script, then the client script. Before executing the server script, ensure that you login to Hugging Face via the CLI as Gemma-2 is a gated model. Use the following command and paste your Hugging Face token when prompted.
huggingface-cli login
Next, execute the server script.
python server.py
The first time you execute the script, it will download the model from Hugging Face, store it in the checkpoints directory and also convert it into the litgpt format.
Next, open a new terminal and execute the client script while passing down a prompt.
python client.py --prompt "Hello! How are you?"
If you are running it on GPU, you should get the response right away. On CPU, it might take a while.
Here is a video showing the entire process on Lightning Studio.
Exposing an API Through Lightning Studio
Above, the client query was sent from the same environment where the server was running. What if we want to send a request from our system or anyone else wants to send from their system. For this, Lightning Studio provides a one-click solution to expose APIs, the API Builder. We just need to add that as plugin in the Studio environment, and we will get an exposed URL that we can use.
After getting the URL, open the api_call.py script in your local system and paste it as shown below.
import requests, json
import argparse

parser = argparse.ArgumentParser()
parser.add_argument(
    '--prompt'
)

args = parser.parse_args()

response = requests.post(
    # SERVER_URL. Replace with your URL/predict
    'SERVER_URL/predict',
    json={'prompt': args.prompt},
    stream=True
)

# With streaming.
for line in response.iter_lines(decode_unicode=True):
    if line:
        print(json.loads(line)['output'], end='')
That’s it. Now, we can execute the api_call.py script with a prompt from our local terminal and get an answer from the LLM.
python api_call.py --prompt "Hello"
Take a look at the following video to see how the entier process works.
When building API, make sure that the port (8000 in this case) matches the one where you create the API. In our case, the server was running on port 8000. If you run the server on a different port, then the API Builder port has to change as well.
Running Hugging Face Transformer Models using LitGPT and Serving Through LitServe
In the previous section, we ran the models on Lightning Studio using LitGPT. However, there may be some custom models available (even our own fine-tuned) on Hugging Face Model Hub that we want to serve. Fortunately, LitServe makes it really easy to customize the server class and serve any model from Hugging Face.
Upload the server_hf.py to the Studio environment that contains the code to run the Gemma-2 2B instruction tuned model from Hugging Face.
In case, transformers is not installed, you can do so by executing pip install transformers.
"""
LitAPI serving for Hugging Face LLMs.

USAGE:
$ python serve_hf.py
"""

import litserve as ls
import torch

from transformers import AutoTokenizer, AutoModelForCausalLM

class LlmAPI(ls.LitAPI):
    def setup(self, device):
        self.device = device
        self.tokenizer = AutoTokenizer.from_pretrained('google/gemma-2-2b-it')
        self.model = AutoModelForCausalLM.from_pretrained(
            'google/gemma-2-2b-it',
            torch_dtype=torch.float16
        ).to(device).eval()

    def decode_request(self, request):
        text = request['prompt']
        input_ids = self.tokenizer(text, return_tensors="pt").to(self.device)
        return input_ids

    def predict(self, input_ids):
        with torch.no_grad():
            outputs = self.model.generate(
                **input_ids,
                max_new_tokens=1024
            )
        return outputs

    def encode_response(self, outputs):
        return {'output': self.tokenizer.decode(
            outputs[0], add_generation_prompt=False, skip_special_tokens=True
        )}

if __name__ == '__main__':
    api = LlmAPI()
    server = ls.LitServer(
        api,
        accelerator="auto"
    )
    server.run(port=8000)
Here we modify the setup, decode_request, predict, and encoder_response methods as per the requirements of the model that we are using.
- The
setupmethod now loads the Gemma-2 tokenizer, and the model from Hugging Face in Float16. - The
decode_requestmethod tokenizes the prompt that we pass through the client script. - The forward pass through the model happens in the
predictmethod. Notice that it uses theinput_idsfrom thedecode_requestmethod. - And the
encode_responsemethod de-tokenizes the response from the model and returns it back to the client terminal.
Running this is the same as running the previous server script. However, as it is running on the same port, ensure that you quit the previous script before executing this. Execute the server in one terminal.
python server_hf.py
And the client in another terminal.
python client.py --prompt "Tell me about CNNs."
You should see a response on the terminal after a few seconds.
Streaming Response
At the moment, we get the response from the model on the client terminal in one-shot. However, the api_call.py script supports streaming of text. This allows us to stream output tokens as they come, just as in real chat applications.
To use the streaming capabilities of LitGPT and LitServer we need to use the CLI command for executing models.
Quit the current server script that is running, and execute the following in the Lightning Studio terminal.
litgpt serve google/gemma-2-2b-it --port 8000 --stream True --max_new_tokens 1024 --devices 0
We execute the same model, however, this time using the litgpt serve CLI command.
- It first accepts the model name
- Then the port number
- Next, whether we want to stream the output
- And finally, the maximum number of output tokens
In the above command, we use --devices 0 which indicates that the model should be loaded onto the CPU as there are no GPU devices. If you have enabled GPU in your Lightning Studio environment, you can skip the final argument.
litgpt serve google/gemma-2-2b-it --port 8000 --stream True --max_new_tokens 1024
Similarly, in your local terminal, execute the api_call.py script. As the API builder is already running and we have set the exposed URL path with the end point, we can directly execute it with a prompt of our choice.
python api_call.py --prompt "Tell me about NLP"
Exposing API on Local System
All the above steps that we carried out above, will also work on the local system when executed in two different terminals. In fact, when we created the API on Lightning Studio, we executed the client call from the local terminal.
But what if we want to serve a model using LitServe on our local system and expose the API?
In general, this is a challenging task.
However, ngrok makes it really straightforward. In simple words, it creates an exposed URL of the local host URL given a port number where the application is running.
Setting Up ngrok
Here, we will install ngrok on Ubuntu. First, you need to create an account. Next, to install, execute the follwing command on the terminal. You can find the setup & installation steps here.
curl -sSL https://ngrok-agent.s3.amazonaws.com/ngrok.asc
	| sudo tee /etc/apt/trusted.gpg.d/ngrok.asc >/dev/null
	&& echo "deb https://ngrok-agent.s3.amazonaws.com buster main"
	| sudo tee /etc/apt/sources.list.d/ngrok.list
	&& sudo apt update
	&& sudo apt install ngrok
Every ngrok account is attached with an authentication token that we need to set up as well. In the above link, you can see the next command to set the authentication token on your system.
ngrok config add-authtoken YOUR_AUTH_TOKEN
That’s it, we have everything set.
Running the Server Script Locally
Now, let’s run the server script locally.
python server.py
Now, in another terminal, create an exposed URL of the localhost running on port 8000 through tunneling.
ngrok http http://localhost:8000
The terminal screen should change to be similar to the following.
ngrok                                                                                                                                                                       (Ctrl+C to quit)

Sign up to try new private endpoints https://ngrok.com/new-features-update?ref=private

Session Status                online
Account                       [email protected] (Plan: Free)
Version                       3.15.0
Region                        India (in)
Latency                       82ms
Web Interface                 http://127.0.0.1:4040
Forwarding                    https://4f5c-2401-4900-4bbc-4040-5553-445c-7733-ac0b.ngrok-free.app -> http://localhost:8080

Connections                   ttl     opn     rt1     rt5     p50     p90
                              0       0       0.00    0.00    0.00    0.00
Above, the HTTPS URL after Forwarding is the exposed URL that we can use instead of the Lightning Studio API Builder URL.
Update the same in the api_call.py script. Replace the NGROK_URL with the URL that you get on your terminal.
import requests, json
import argparse

parser = argparse.ArgumentParser()
parser.add_argument(
    '--prompt'
)

args = parser.parse_args()

response = requests.post(
    # SERVER_URL
    'NGROK_URL/predict',
    json={'prompt': args.prompt},
    stream=True
)

# With streaming.
for line in response.iter_lines(decode_unicode=True):
    if line:
        print(json.loads(line)['output'], end='')
Next, open another terminal, and execute the API call script with a prompt of your choice.
python api_call.py --prompt "Hello"
The following video shows the entire process.
You can similarly execute the litgpt serve CLI command with streaming and execute the api_call.py script to get streaming output.
With the URL provided by ngrok, we can make the API call from any network, not just the local system. However, it is a free account on ngrok at the moment and is not production ready. There are API call limitations and the link will also expire after a few hours. But it is possible to take it from here and make it production ready, which at the moment is out of scope of this article.
Summary and Conclusion
We covered a lot in this article. Starting from setting up LitGPT and LitServe locally, running & serving model on Lightning Studio, to exposing URLs from the local system, along with the discussion of the limitations.
Right now, we are well-equipped to build interesting applications. The best part is that we can also serve any model that we want through Lightning Serve, and not just LLMs. Why don’t you try playing around with diffusion based image generation models and try the same process with API Builder? Let others know in the comments what you are building. I hope that this article was worth your time.
If you have any doubts, thoughts, or suggestions, please leave them in the comment section. I will surely address them.
You can contact me using the Contact section. You can also find me on LinkedIn, and Twitter.
Source link
lol


